


Enhance Your Brand with a Headshot
In the digital age, your first impression is often made before you even shake hands with someone. Your online presence, particularly your profile picture, can greatly impact how you are perceived. A well-polished professional headshot is more than just a photo; it's a powerful tool that can significantly enhance your personal brand. This blog post will delve into why a professional headshot is important, what makes a great headshot, tips for capturing the perfect headshot, how to take a headshot with a smartphone, editing your headshot, using it effectively, understanding headshot size and format, and finally, introducing Real Fake – an AI tool for creating high-quality professional headshots.
The Power of a Headshot

In this digital age, making a strong first impression goes beyond a firm handshake or a well-rehearsed elevator pitch. It's about your online presence, and more precisely, your profile picture. Yes, we're talking about a headshot, and not just any picture, but a professional one. Now, you might be wondering: why all this fuss about a photo?
First off, let's talk about first impressions. Like it or not, us humans tend to judge a book by its cover. A professional headshot, polished to perfection, is like putting your best foot forward right from the start. It's your digital handshake, the first thing people notice when they visit your LinkedIn profile, your company's website, or even your Facebook business page. And studies show, it takes only a fraction of a second for people to form judgments based on appearance. So, you see, every second, or rather every tenth of a second, counts.
But a professional headshot is more than just a picture. It communicates that you value and invest in yourself and your brand. It sends a clear message - you're committed, professional, and ready for business. Imagine going to an important meeting in a tailored suit. That's the kind of impression a quality headshot creates. Conversely, using a blurry or inappropriate photo is like showing up at that meeting in flip-flops. Not quite the impression you want to create, right?
Moreover, a professional headshot helps you stand out in a sea of casual snapshots and selfies on online platforms. It's like putting on a superhero cape in the digital world, making you easily recognizable and memorable.
And let's not forget about consistency. Branding 101 tells us that having a consistent image across all digital platforms is the key to building trust with your audience. So, rock that professional headshot everywhere, from LinkedIn to your email signature, and reinforce your brand image.
In a nutshell, a professional headshot isn't just a photo; it's a powerful tool that can significantly enhance your professional brand. So, if you haven't got one yet, it's high time you invest in one. Trust us; it's worth every penny!
Elements of a Good Headshot
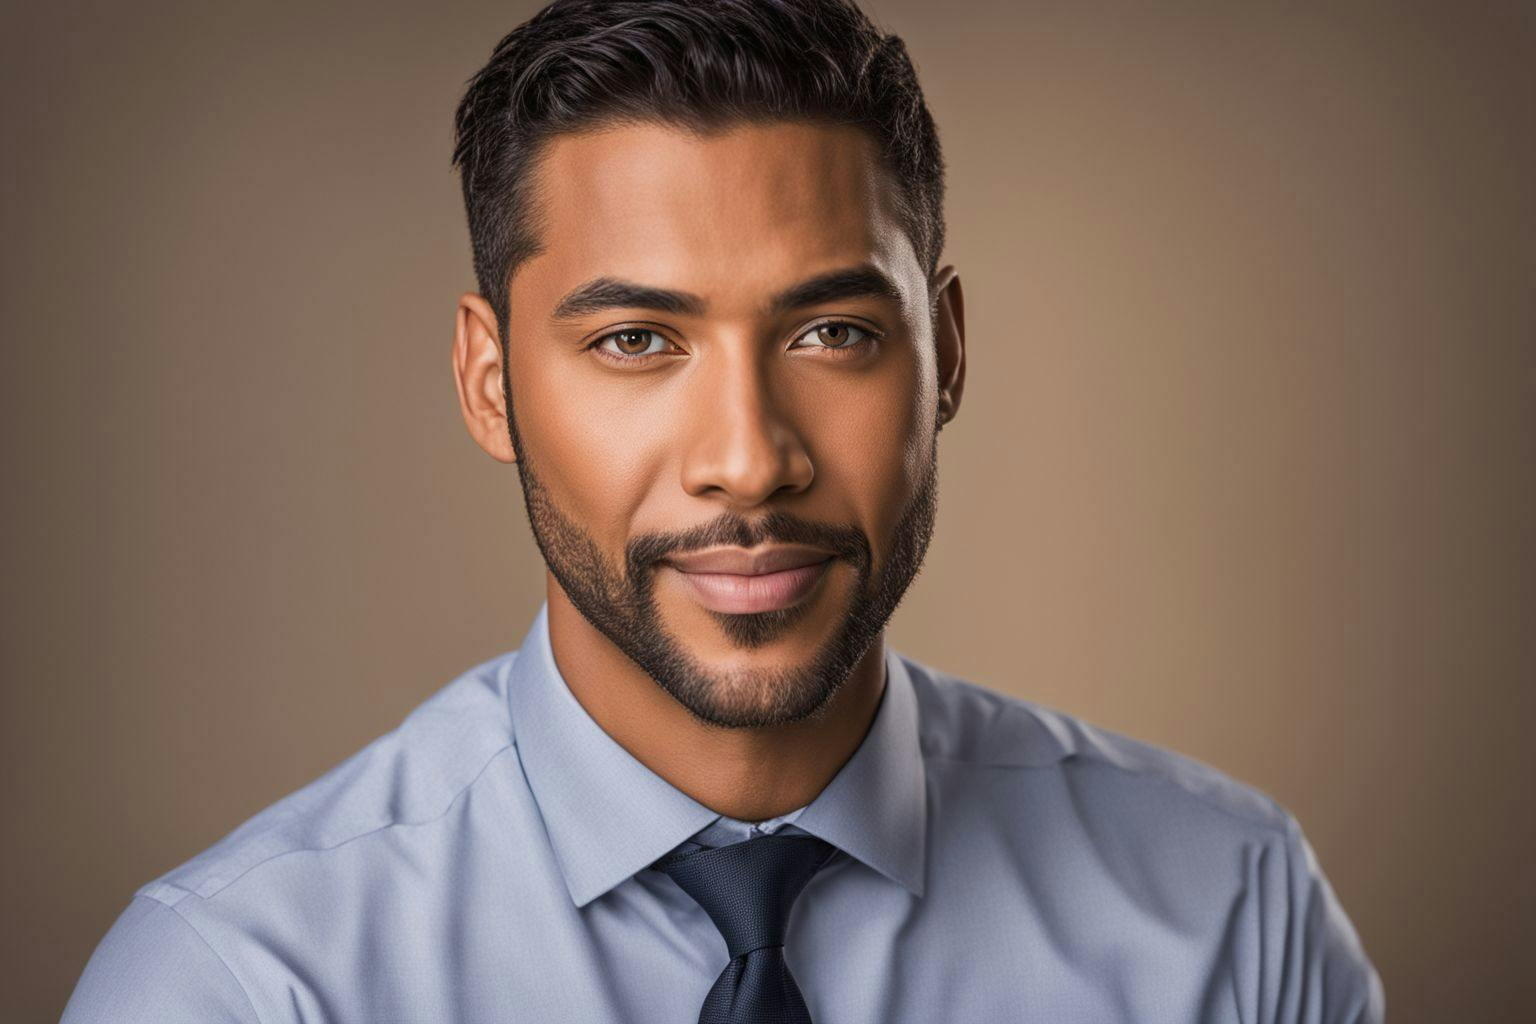
Before we dive into the nitty-gritty of what makes a headshot stand out, let's first understand what a headshot is. A headshot is more than just a simple photo of your face. It's a powerful visual representation of you, your brand, and your personality. It's that perfect blend of professionalism, approachability, and authenticity. It's your chance to make a magnetic first impression. But how do you create a headshot that ticks all these boxes? Here are some elements to consider.
1. Clarity and Sharpness: The focus should be on your face, capturing your facial features in detail. It's like the camera is giving you a friendly handshake, introducing you to the viewer.
2. Lighting: Lighting can make or break your headshot. It needs to highlight your features without casting harsh shadows. Women often prefer a flat, shadowless lighting, while men tend to lean towards a more dramatic look. But ultimately, it's about what makes you feel good and confident.
3. Composition: Your face should be the star of the shot. The framing should draw attention to your eyes and facial expressions. And remember, different uses demand different compositions. For instance, an 8×10 headshot should be shot vertically, while shots for social media should bear a 1:1 ratio in mind.
4. Background: Keep it simple and clean so that the focus stays on you. Avoid clutter or distracting elements that may steal the spotlight from you.
5. Wardrobe and Styling: Dress for the role you want, not the one you have. Your attire should be appropriate for the purpose of the headshot and should complement your features.
6. Facial Expression and Eye Contact: Above all, your headshot should reflect your personality. A natural, engaging expression and direct eye contact can create a connection with the viewer.
7. Authenticity: Lastly, remember to be yourself. Your headshot should capture your genuine self, radiating both approachability and professionalism.
That's it, folks! Keep these elements in mind, and you're on your way to creating a headshot that not only looks great, but feels like you. So, ready to put your best face forward?
Headshot Photography Tips
Whether you're a seasoned pro or a newbie with a camera, snagging that perfect headshot can be a bit of a challenge. But don't worry, we've got you covered with some nifty tips and tricks.
First and foremost, remember to take your time. Don't rush to capture the 'perfect' shot in one go. Instead, experiment with different camera settings and angles. Adjust your exposure, play around with your flash, and see what works best. Remember, every small adjustment brings you one step closer to that head-turning headshot.
Next, relax! Easier said than done, right? But trust us, a relaxed and comfortable subject can make a world of difference. Engage in light conversation, ask questions, and keep the atmosphere positive and upbeat. The goal is to make your subject feel at ease and let their personality shine through.
And speaking of personality, don't shy away from letting it peek through the lens. Remember, a headshot is more than just a pretty face; it should capture the essence of who you are. So, whether you're quirky, serious, or full of zest, let your true self take center stage.
Now, let's talk about Plan B. Yes, you heard us right! Always have a backup plan in place. Unpredictable factors like weather or sudden crowd appearances can throw a wrench in your perfect headshot plans. So, having a contingency plan can save you from a whole lot of stress.
Lastly, practice makes perfect! The more you practice, the more comfortable you'll become with your camera and its settings. So, go on, practice with your friends, your family, or even your cat! The key is to get comfortable with your gear and familiarize yourself with different settings and compositions.
So, there you have it. Follow these simple yet effective tips, and you'll be well on your way to capturing stunning headshots. Remember, it's not about getting the perfect shot on the first try; it's about learning, experimenting, and having fun along the way. Happy clicking!
Smartphone Headshot Guide
Alright folks, so you've got the importance of a headshot, the elements it should contain, and some handy photography tips under your belt. Now, let's dive into how you can take a professional-looking headshot right from your smartphone. Yes, you heard that right. Your handy-dandy smartphone can be your ticket to a killer headshot.
First things first, master your technology set-up. Make sure your phone is set to High Dynamic Range (HDR) for stunning, quality images that truly capture your essence. This feature blends the best parts of three separate exposures into a single photo, making your picture pop. Oh, and remember, no zooming in manually. It lowers the resolution of your photo. Instead, use the portrait setting or have your photographer move closer to you.
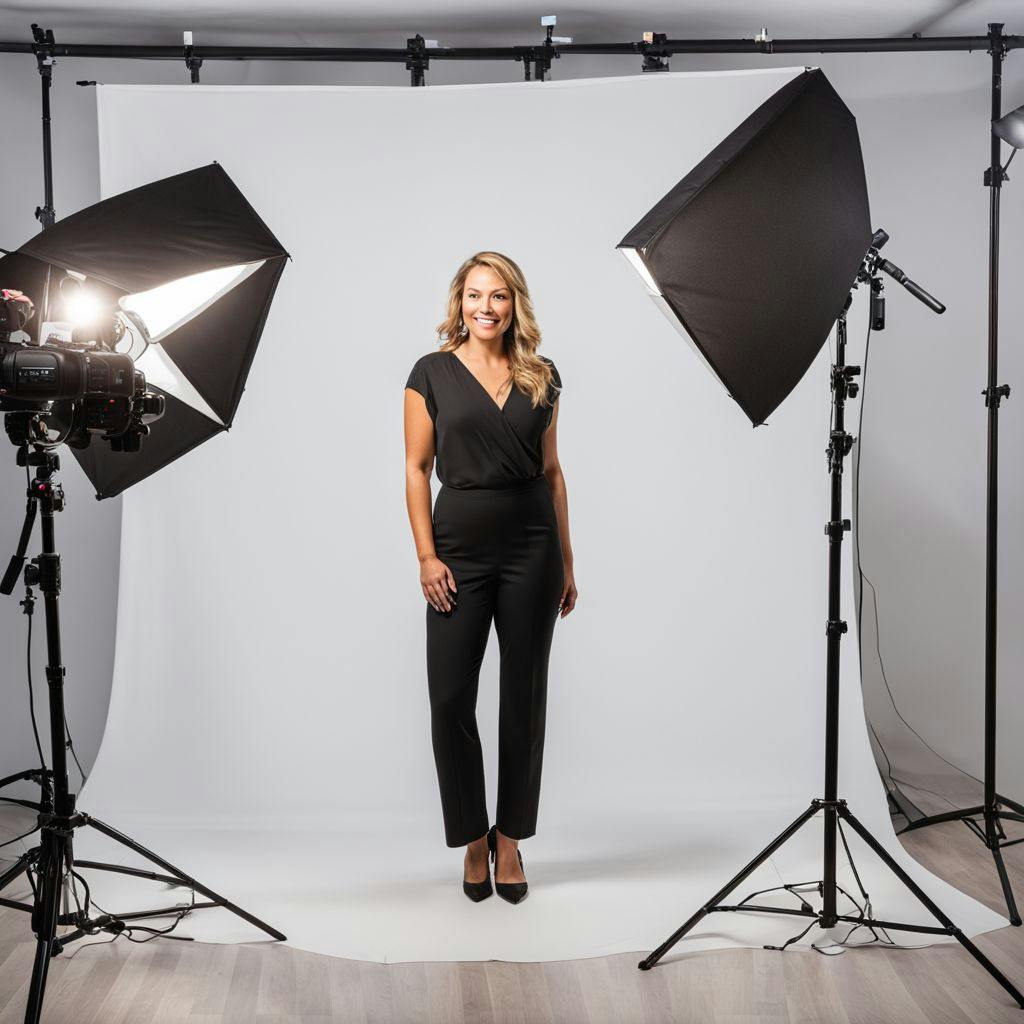
Next, pick the right location and lighting. Your environment plays a crucial role in how your headshot turns out. Opt for a location that offers natural light and ensures your hair and clothing contrast with the background. Remember, good lighting is key! It's what highlights your features and makes you stand out.
Now, recruit your smartphone headshot photographer. This could be a family member, friend, or co-worker. Their job is to keep an eye on your hair and collar, ensure no changes are made to your phone camera settings, and provide candid feedback. The lens should be at its normal zoom level and the photo should be taken from your eye-level height.
Once you're done, editing is the next step. Choose the best three images and use your phone’s built-in editing features to adjust the cropping, lighting, and color balance. Fiddle with the exposure settings until you have a sharp image that doesn't make your face look washed out.
And voila! You're all set. Remember, it's all about experimenting and having fun with it. So, go ahead, and get clicking. We can't wait to see your incredible headshots!
Editing Your Headshot
Alright, let's talk about editing. Now, before you panic, remember that editing doesn't mean altering your face beyond recognition. It's about enhancing what's already there and making sure your headshot is the absolute best it can be. You know, like adding a cherry on top of an already delicious cake!
The first step in editing is to choose the right software. There are plenty of options out there, some free, some not, but the most widely used one is Adobe Lightroom. It's user-friendly and offers a wide range of tools to make your headshot shine. Other alternatives include apps like Snapseed or VSCO, which are perfect for quick edits on your phone.
Next, let's fix the basics. This includes adjusting the exposure, contrast, and saturation. The exposure controls how light or dark your photo is. The contrast affects the difference between the light and dark areas in your photo. And the saturation controls the intensity of the colors. Tweaking these can help you get that professional look. Remember, subtle changes go a long way!
Now, let's talk about skin retouching. This is where you might remove a pesky pimple or soften some wrinkles. But remember, the goal is to look like the best version of you, not someone else. So, keep it natural and avoid over-editing.
Next up, eyes! They're the window to the soul, right? So, let's make sure they're in focus and bright. You can do this by increasing the sharpness and brightness of your eyes. But again, keep it subtle.
Lastly, consider cropping your photo for the appropriate platform. For example, LinkedIn prefers a 1:1 ratio, meaning the photo should be as wide as it is tall. So, make sure to crop accordingly.
That's it, folks! Remember, editing is an art, not a science. There's no right or wrong way to do it, as long as the end result is a headshot that feels authentic and professional. So, go ahead, experiment with different editing techniques and have fun with it! After all, your headshot is a reflection of you, and you're pretty awesome!
Using Your Headshot Effectively
Now that you've got your killer headshot ready, the next step is to make the most of it. A great headshot is like a golden ticket, opening doors to new opportunities. But for it to work its magic, you need to use it effectively. So, how can you do that? Let's dive in!
Firstly, let's talk about LinkedIn. With over 700 million users, LinkedIn is the world's largest professional network, and your headshot plays a crucial role here. Your LinkedIn profile picture should be professional yet approachable, instilling confidence in your abilities. It's the first thing people see when they visit your profile, so make sure it's a good one!
Next up, CVs or resumes. Adding a headshot to your CV can make you instantly memorable. It humanizes your application and helps you stand out from the crowd. But remember, it has to be a professional photo that aligns with the industry you're applying to. You wouldn't want to use a beach selfie for a law firm application, would you?
Don't forget business cards. In this digital age, a business card might seem like an old-school thing, but it's still a powerful networking tool. Adding your headshot to your business card can make it more personal and memorable. It adds a face to the name, making it easier for people to remember you.
Then there's your email signature. An email signature is often overlooked, but it's a great place to showcase your headshot. It adds a professional touch to your emails and can increase your response rate. Plus, it's like a digital business card that you attach to every email you send!
Lastly, your company's website or your personal blog. A professional headshot adds credibility and helps build trust with your audience. It gives your brand a face, making it more relatable and human.
In conclusion, a headshot is a powerful branding tool that can help you create a strong professional identity across various platforms. So, don't just leave it sitting in a file on your computer. Use it effectively, and watch your personal brand blossom!
Understanding Headshot Size & Format
If you've followed along so far, you're now equipped with a stellar headshot, perfectly capturing your personality and professionalism. But there's one more piece to the puzzle before you start plastering it all over the digital world - understanding headshot size and format requirements.
Just like how a tailored suit fits you better than a one-size-fits-all, your headshot should be appropriately sized and formatted for the platform it's intended for. This not only ensures optimal display but also reflects your attention to detail— an important trait in any professional.
The dimensions of a headshot refer to its width and height in pixels. The aspect ratio, on the other hand, is the proportional relationship between these two dimensions. For example, a 1 x 1 aspect ratio indicates that the width and height are equal, resulting in a square image.
Different platforms have different requirements for headshot dimensions. For instance, LinkedIn recommends a minimum size of 400 x 400 pixels, while Facebook prefers 170 x 170 pixels. If you’re applying for a medical residency, the Electronic Residency Application Service (ERAS) requires a specific size of 375 x 525 pixels.
The file size of your headshot, measured in kilobytes (KB) or megabytes (MB), is yet another factor to consider. Some platforms have maximum file size limits. For example, LinkedIn allows up to 8MB while Facebook limits it to 1.75GB.
Choosing the right file format is also crucial. Commonly used formats are JPEG and PNG. JPEG is typically preferred for photographs as it provides good quality with a smaller file size. PNG, though larger in file size, supports transparent backgrounds.
So why does all of this matter? Meeting the image requirements ensures your headshot is displayed properly, without any distortion or loss of quality. It's about showing up in your best light, on every platform.
In conclusion, understanding headshot size and formatting is not just about pixels and ratios. It's about presenting your best self, every time, anywhere.
Introducing Real Fake
Say hello to Real Fake, your new secret weapon for creating stellar professional headshots! Gone are the days of expensive photoshoots, and awkward poses. With Real Fake, you get top-notch, AI-generated headshots that are as real as it gets.
But what makes Real Fake a game-changer? For starters, it's incredibly convenient. No more scheduling appointments or traveling to studios. With just a few clicks, you can have a high-quality headshot right from the comfort of your home or office.
And let's talk about affordability. Professional headshots can burn a hole in your pocket. But with Real Fake, you get studio-quality photos at a fraction of the cost. Now, that's a win-win!
But the true magic of Real Fake lies in its AI technology. It crafts images tailored just for you, capturing your unique essence. Whether you're an entrepreneur, job seeker, or a professional in fields like law, finance, or consulting, Real Fake ensures that your headshot reflects your personal brand in the best light possible.
And the best part? Real Fake has a track record of customer satisfaction. With millions of professional headshots created, it is revolutionizing the headshot landscape one click at a time.
So, ready to enhance your professional image? Take the leap and try Real Fake today. Your brand new, AI-generated headshot is just a click away! A professional headshot is an investment in your personal brand. It's more than just a picture; it's a visual representation of you, your brand, and your personality. With the right elements, tips, and tools, you can create a headshot that not only looks great, but also feels like you. Remember, it’s not only about taking a headshot, but also about understanding how to edit it, use it effectively across different platforms, and knowing the right size and format for each of them. Moreover, with the advent of AI tools like Real Fake, creating a professional headshot is now easier and more affordable than ever.
Frequently Asked Questions
What are the key elements of a good headshot?
A good headshot should have clarity and sharpness, good lighting, right composition, clean background, appropriate wardrobe and styling, natural facial expression and eye contact, and authenticity.
How can I take a professional-looking headshot with my smartphone?
To take a professional-looking headshot with your smartphone, master your technology set-up, choose the right location and lighting, recruit a friend or family member to help you, and edit the best images using your phone's built-in editing features.
What is the importance of understanding headshot size and format?
Understanding headshot size and format is crucial to ensure your headshot is displayed properly, without any distortion or loss of quality, on every platform. Different platforms have different requirements for headshot dimensions and file size, and choosing the right file format is also crucial.